This article will guide students through the registration and onboarding process in WriteSea. Students will learn how to access their welcome email, create their account, complete onboarding, and save their login URL for future access.
Training Video
Watch the training video below for a quick walkthrough of how to register and complete onboarding in WriteSea.
Step 1: Register
Check your inbox for the WriteSea welcome email from your school, organization, or career center.
The email subject line may be:
“Access Our NEW Career Tool!”
Open the email and click the registration link or button provided. This will take you to the WriteSea registration page, where you can begin setting up your account.
Note: Make sure you use the official link provided in your welcome email so your account is connected to the correct school or organization portal.
Step 2: Complete Onboarding
After clicking the registration link, follow the on-screen steps to complete your account setup.
During onboarding, you may be asked to:
- Create and save your password
- Confirm basic account details
- Answer a few quick setup questions
This process usually takes about one minute. Once completed, you will be directed to the WriteSea dashboard.
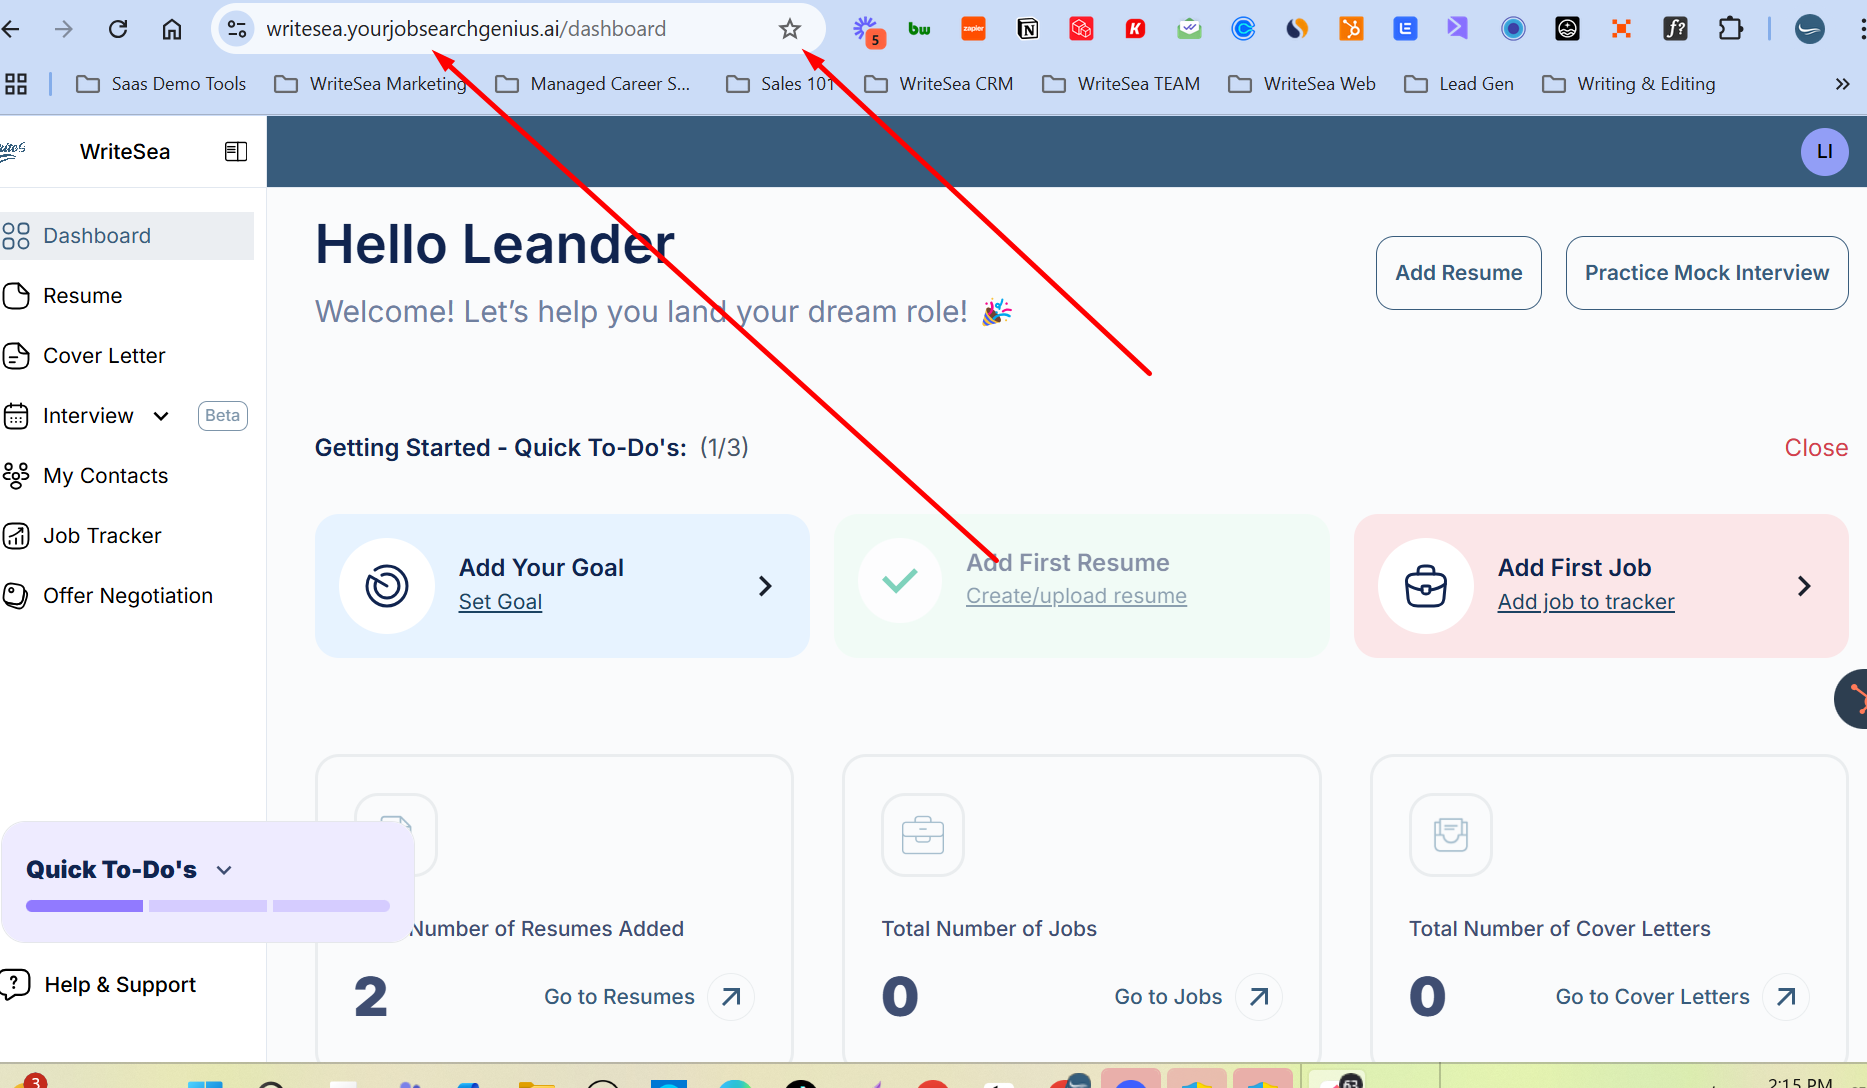
Step 3: Save or Favorite Your Login URL
After logging in, bookmark or favorite your WriteSea login URL in your browser. This makes it easier to return to the platform whenever you need to access your career tools.
Place the dashboard/bookmark screenshot here.
You can use your saved login URL to return to WriteSea and continue working on your resume, job search, cover letters, interviews, contacts, and offer negotiation tools.
Helpful Tips
- Use the registration link sent by your school or organization.
- Check your spam or junk folder if you do not see the welcome email.
- Save your login URL after logging in for the first time.
- Keep your password secure.
- Contact support if your registration link does not work or you are unable to access your account.